How To Remove Background And Make It Transparent

Alright, gather 'round, folks! Today, we're going to tackle a topic that's been causing more headaches than a poorly brewed coffee - removing backgrounds and making them trans...

Alright, gather 'round, folks! Today, we're going to tackle a topic that's been causing more headaches than a poorly brewed coffee - removing backgrounds and making them transparent. Now, I know what you're thinking, "This guy's about to bore us to tears with tech jargon!" But fear not, dear reader, for I come bearing tales of woe, triumph, and a healthy dose of humor to make this journey as painless as possible.
Why Bother With Transparency?
You might be wondering, "Why on earth would I want to make something transparent? Isn't that just asking for trouble?" Well, let me paint you a picture. Imagine you're trying to create a stunning social media post, but your cat photobombed the shot, and now you're left with a furry, unwanted guest in your otherwise perfect picture. Or perhaps you're a graphic designer, and you've been tasked with creating a logo that needs to shine on any background. That's where transparency comes in, like the unsung hero of the design world.
Meet Your New Best Friend: The Magic Wand Tool
Now, before we dive into the nitty-gritty, let's get one thing straight - we're not talking about some sort of Harry Potter wand here. No, this is the digital age, and our magic wands come in the form of software tools. In this case, we're talking about the Magic Wand tool, found in programs like Adobe Photoshop and GIMP.
Must Read
This tool is about as close to a real-life magic wand as you're gonna get. It's like having a tiny, pixel-picking elf at your disposal, ready to select areas of your image with just a click. Sounds too good to be true, right? Well, hold onto your hats, because it gets even better.
Preparing Your Image
Before you start waving that wand around like a mad conductor, there are a few things you need to do to prep your image. First, make sure your image is in a format that supports transparency, like PNG. Then, separate your subject from the background using the Lasso, Marquee, or Pen tools. It's like giving your image a makeover, but instead of a new 'do, you're giving it a new 'do-not-disturb' sign for the background.
Lassoing In The Magic
Now, here's where the magic happens. Select the Magic Wand tool (usually represented by a wand icon), and click on the background you want to remove. The tool will select a similar colored area, like a tiny, pixel-hungry Pac-Man. But wait! There's more! You can adjust the tolerance (that's the fancy term for 'how picky the tool is') to make it select more or less of the background.
Think of it like trying to pick out a specific shade of blue from a box of crayons. If your tolerance is low, you'll only get the exact blue you clicked on. But if it's high, you'll get all the blues, and maybe even some purples and greens. It's like the tool has a color crush, and you're the matchmaker.
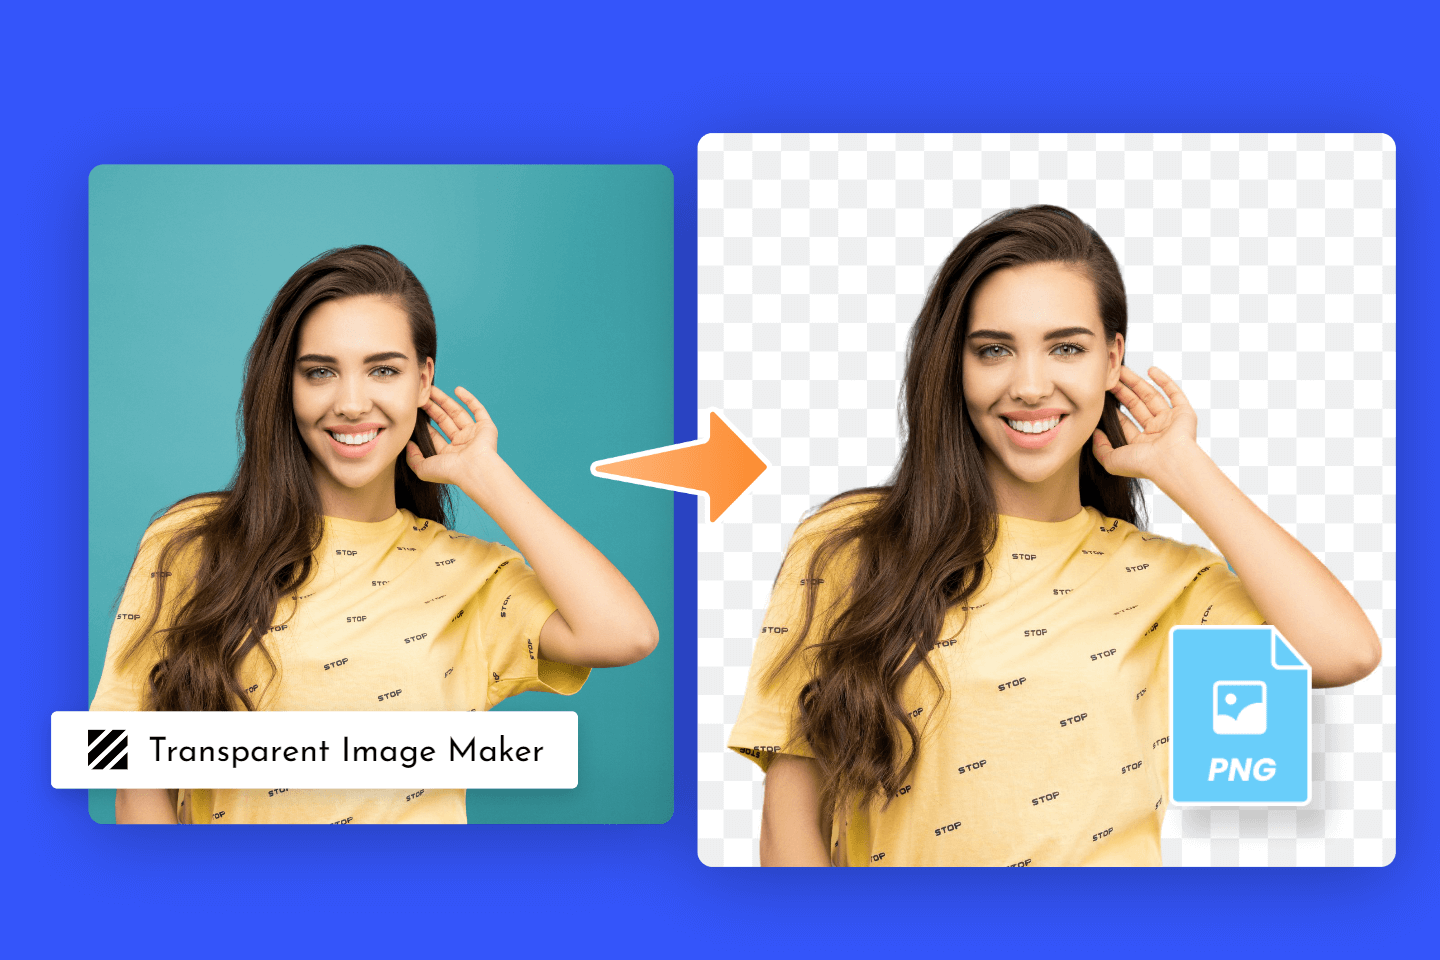 How To Get A Transparent Background On A Picture
Refining Your Selection
Alright, so you've made your initial selection, but you've noticed that the tool missed a few spots, or it's selected part of your subject by mistake. Fear not! There are ways to refine your selection and make it perfect.
First, you can add to or subtract from your selection using the 'Add to selection' and 'Subtract from selection' buttons. It's like giving your selection a makeover, but instead of a new 'do, you're giving it a new 'add' or 'subtract' sign.
You can also use the 'Refine Edge' command to help the tool better understand the edges of your subject. It's like giving the tool a pair of glasses so it can see the difference between your subject and the background more clearly.
Making It Transparent
Now that you've made your selection, it's time to make that background disappear like a magician's trick. Simply hit the 'Delete' key, and watch as the background fades away, leaving behind a transparent canvas ready for your subject to shine.
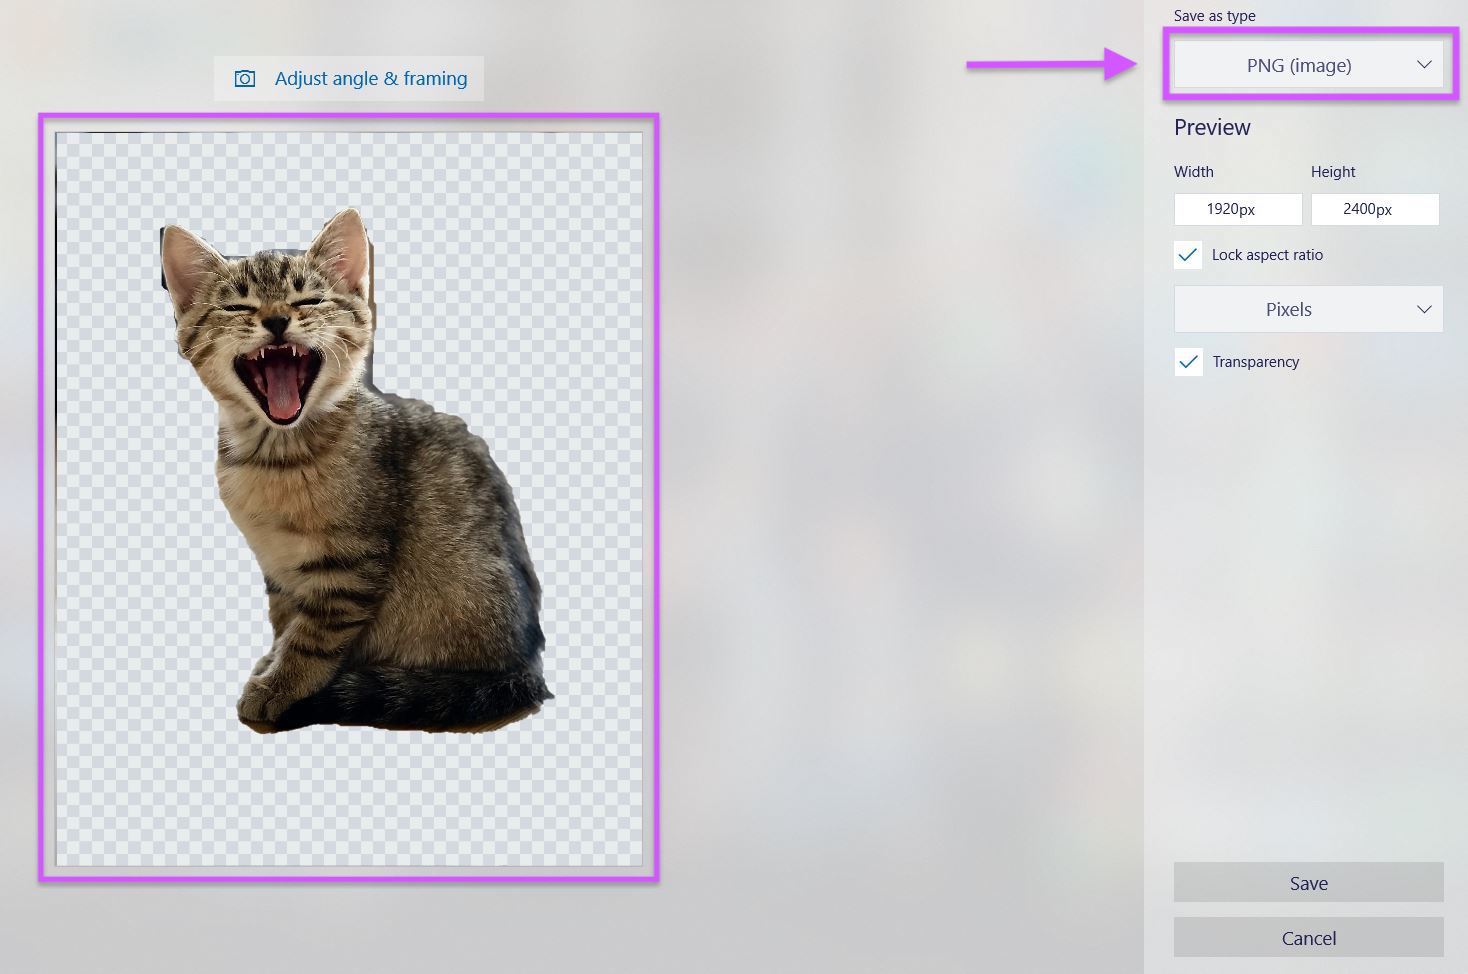 Sådan gør du baggrunden gennemsigtig i Paint og Paint 3D – remove.bg Blog
But wait! Before you go deleting everything in sight, make sure you've saved your original image. You never know when you might need to start over, and trust me, there's nothing worse than losing all your hard work because you got a little too delete-happy.
Surprising Facts And Tips
Alright, so you've mastered the art of removing backgrounds and making them transparent. But wait! There's more! Here are a few surprising facts and tips to make your transparent-making journey even smoother.
Did you know that the Magic Wand tool was first introduced in Photoshop 1.0? That's right, folks! This tool has been around since the dawn of digital design, and it's still going strong. It's like the Energizer bunny of design tools, just keep on going, and going, and going...
Now, you might be thinking, "But what if I don't have Photoshop? Am I doomed to a life of non-transparent images?" Fear not, dear reader! There are plenty of free, open-source alternatives out there, like GIMP. And guess what? It has a Magic Wand tool too! It's like the budget-friendly cousin of Photoshop, ready to help you achieve your transparent dreams.
